Fit A Moulding Into A Bay Window
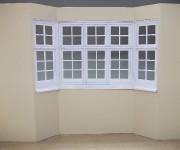
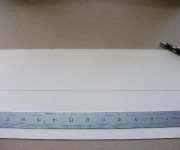
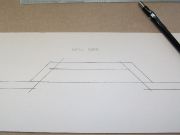
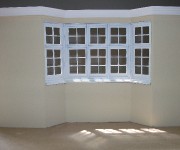
Back to guidesFor this method, you don’t need to know the angle at which to cut your mouldings. For this exercise I have made a simple bay window (Pic 1), however, this process can be used for chimney breasts and alcoves, etc. This process requires the cardboard pattern to be flush against the wall i.e. with no skirting boards.
Step 1:
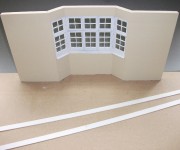
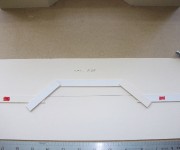
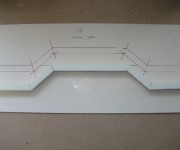
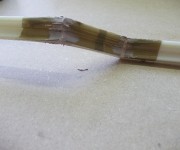
To start cut strips of card which will be used to make a pattern from which you can work (Pic 2).
Step 2:
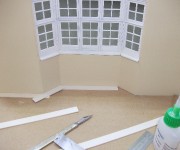
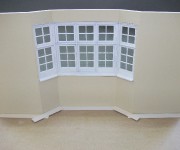
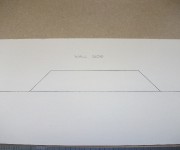
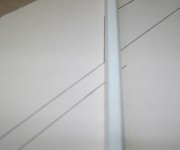
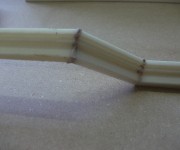
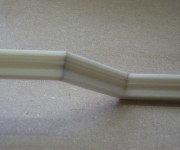
Cut the lengths of card to go around the bay and glue them together (Pic 3). Make sure the strips are tightly up against the wall and that they go right into the corners of the bay. It is very important that this stage is correct, as this is your pattern. A mistake in this will be reproduced in the mouldings (Pic 4).
Step 3:
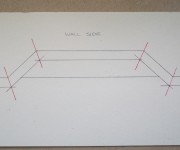
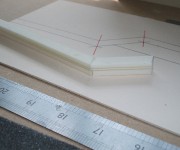
Now, on a piece of card large enough to place the pattern, draw a straight line (Pic 5). Hold or pin your pattern down onto the card (Pic 6). On the card I have marked red squares: align this part of the pattern along the pencil line. Carefully draw around the pattern. When you take the pattern off the card you should have the outline of the shape of the bay (Pic 7).
Step 4:
Now using your chosen cornice, (I am using SM 12 from the Miniature Mansions range) you need to draw the footprint of your moulding onto the card. Turn the moulding upside down so that the surface which goes against the ceiling is now against the card. Aligning the moulding with the lines you have on the card, draw a line on the opposite side of the moulding (Pic 8).
Once you have done this on all the faces you should have the outline of the pattern (Pic 9).
Step 5:
If you draw a line through the corners (Pic 10, marked in red) this will give you the angles you need to cut.
Step 6:
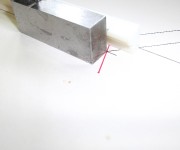
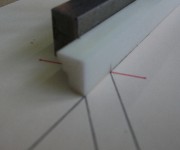
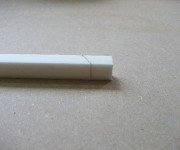
Place your moulding back onto the card, this time the correct way up. Align the end just over the red line using the stock of a square against the moulding. Mark a line on the top of the moulding (Pic 11). Carefully, without moving the moulding, mark the back where the red line meets the moulding (Pic 12) and, using the square, draw a line from this point to the top of the moulding (Pic 13). Draw a line across the top from the mark at the front to the one at the back (Pic 14). These are the marks you need to cut to.
Step 7:
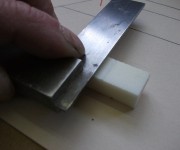
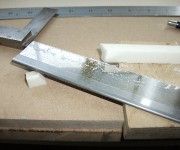
Hold the moulding on a bench hook and carefully cut along the lines using a razor saw (Pic 15). When cutting, let the saw do the work. And take your time: the harder or faster you push, the more likely it is to go off the line.
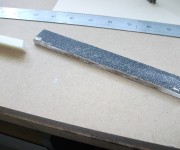
You don’t need to worry about the resin moulding – it won’t snap or chip whilst you’re cutting. When finished, clean off any saw marks using a sanding stick. Make sure you do not alter the angle (Pic 16).
Step 8:
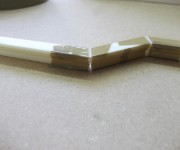
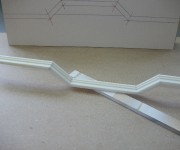
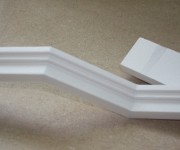
Now cut the next section, marking it out as previously described. Tack the two pieces together with super glue using the outline on the card as the guide (Pic 17).
Step 9:
Check to ensure it fits in your dolls’ house. Should you need to adjust the fit, snap them apart: super glue is brittle and should snap without harming the resin moulding and the glue can be cleaned off with a scalpel.
Adjust fit by sanding. Repeat the process - mark, cut, tack and check until you have the completed shape (Pic 18). If there are gaps between sections these can be filled later.
Step 10:
Now, to sort out those annoying little gaps.Using masking tape, tape either side of the joint, just slightly wider than the gap that is to be filled (Pic 19 – I have used parcel tape for clarity). The tape will protect the moulding from excess filler.
Step 11:
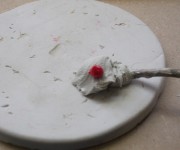
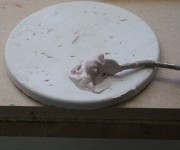
Mix car filler on a scrap piece of MDF or card (Pics 20 & 21). Carefully fill the joint, making sure to push the filler into the gap. Then clean off the majority of the excess filler following the shape of the moulding (Pic 22)
Step 12:
Once the filler has hardened completely, remove the tape. This should leave a minimal amount of filler to sand (Pic 23).
Wherever possible, use a sanding stick and carefully sand the surplus filler without damaging the moulding (Pic 24).
Step 13:
Once sanded down, use double-sided tape to fix the moulding on to a stick for spraying (Pic 25). Spray the moulding with light coats of white car primer (wait for each coat to dry before applying the next). Repeat this until the filler can no longer be seen and the moulding looks like one piece (Pic 26).
Step 14:
When the paint has dried check that the gaps have been filled to your satisfaction (you can only really tell once they’ve been primed). If not, fill and sand where necessary. Once you’re satisfied, the moulding is ready to be painted to the required finish.
Finally, to glue it in place, I use UHU General Purpose or similar (Pic 27). This glue needs time to set, so it will need holding in place. The reason for using this type of glue is that it allows the moulding to move. This is especially important if you move your dolls’ house, because the house will flex which could make the moulding part company from your walls.

